If you have read my first blog Git - Understanding the Model, then you know what Git is, but knowing commands and the model is still not enough. You need to understand how the command work; what happens when we run the git commands.
Four areas of Git
So, let's understand the four areas of git that are Working area, Repository, Index area and stash. As many of you might not be familiar with these areas and the mechanism behind it,
The four areas of Git:
- Working Area / Project repository -> It's a place where we keep our current files on which we are about to work.
- Repository -> Contains entire history of Project
- Index Area -> Intermediate area, a place where we put our files before commit
- Stash -> Temporary storage area

Workflow in four areas
Understanding how git works when we pass various commands or how data moves in various directions:
Workflow Left to right
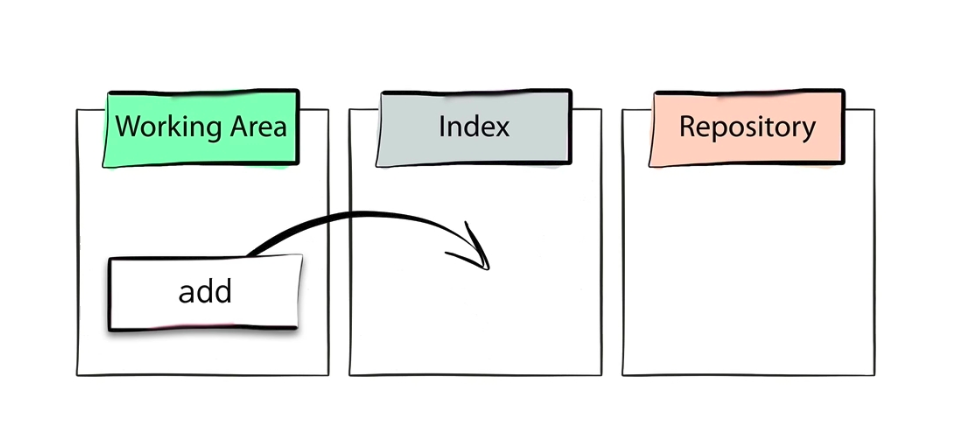
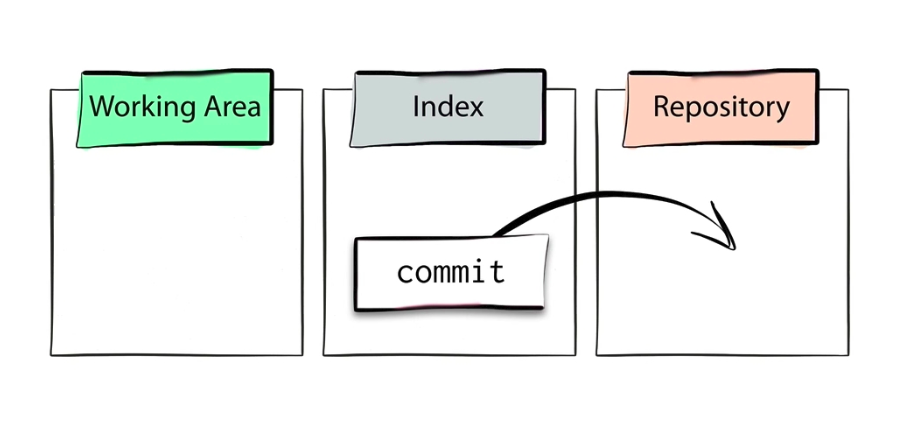
When we talk about moving from left to right we talk about three things : edit the file, stage the file and commit the file. So we move the data from working area to index and then to repository.
Starting with the Working Area, it's the area where our files are currently present. When we make any changes into our files, the changes remain intact into the working area. If we check the status using git status
$ git status

Git says, Changes not staged for commit. The message itself says that in order to commit, we first need to stage the changes.
In order to stage the changes, we run
$ git add

Now the changes are status, lets check the status
$ git status

Giit status tells that the file is modified and Changes to be committed. We can also verify the if the files are staged by checking difference between the working area and Index area using command git diff. In the above screenshot, we see no result of the command git diff because there is no difference to show.
We can also check the difference between the Index and Repository using git diff --cached
$ git diff --cached
Now in order to move the files from index(staging area) to git repository we run git commit

$ git commit -m “Add cricket to list”

-m : m stands for message, we can pass message to the commit we are doing
As soon as we commit the updated file is added to the repository. And all the three areas contain the same data.
Right to left
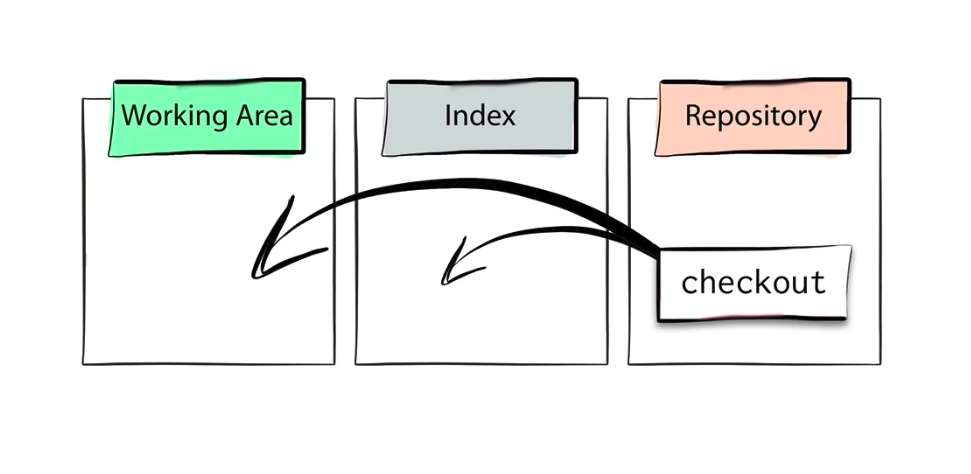
When we talk about moving from right to left here we talk about moving the data from repository to index and then to working area.
We use the command checkout, it does two things. It changes the repository first and then moves data.
- In the repository, it moves the header reference, generally to another branch, so it changes the current commit.
- And second thing it does, it takes data from the new commit, and it copies the data from the repository to the working area and the index.

In the above image when we checkout him then the head moves to him branch. The current commit is changed to him and copied the data to the index and working area.

$ git rm --cached him
It will unstage the file and remove it from the index.
$ rm him
It will delete the file from the working area.
So till now we discussed the functionality of Working area, Index area, Repository of git. Lets cover the fourth area that is stash.
The Stash
We use git stash to store changes which are not ready to be committed and that mean time we need to change our branch in order to carry out some other work.
$ git stash apply

In the above image we can see all the data in the working area and index which we wish to put aside in stash for some time.
So to save the changes in stash use below command. It will take all the data from the working area and index that is not in the current commit in the repository.
$ git stash save
or
$ git stash --include-untracked
It will store all the untracked files by default
![]()
In the image below, we can see that our file chess.txt is not available as it is now successfully stored in the stash area.
Now let's check our chess.txt is present in the stash area use the command
$ stash list
![]()
In the above image, we have only one element so it is stash@{0}
Now to get all our data in the working area and the index area back where it was before we stashed it. Use the below command
$ git stash apply
or
$ git stash apply --index
when there are multiple stashes

We can conclude Stash is like a clipboard; it is a place where it stores the stuff that needs to be set aside for some time.
Here we finished with the stash area. Hope you have a better understanding of Git working areas and their workflow.
Thank you for reading.
